Creating new files from scratch can be time-consuming, especially when you need consistency and professionalism. Microsoft Office templates are a fantastic way to streamline this process. This guide will walk you through how to use templates in Microsoft Word, Excel, and PowerPoint to make your file creation effortless and efficient.
Setting up the Template
As a first step, a template file must be created within either Microsoft Word, Excel, and PowerPoint. To do this, create a brand new file, and adjust as needed. Things to keep in mind when changing the template are:
- Logos and slide numbers throughout slide master
- Background graphics consistent across all slides
- Default fonts, font color, and default fonts
- Word heading styles
- Excel custom tables
Once the file is configured, it is recommended to add sample slides to make sure the process of setting up a new file is easier.
Saving the Template
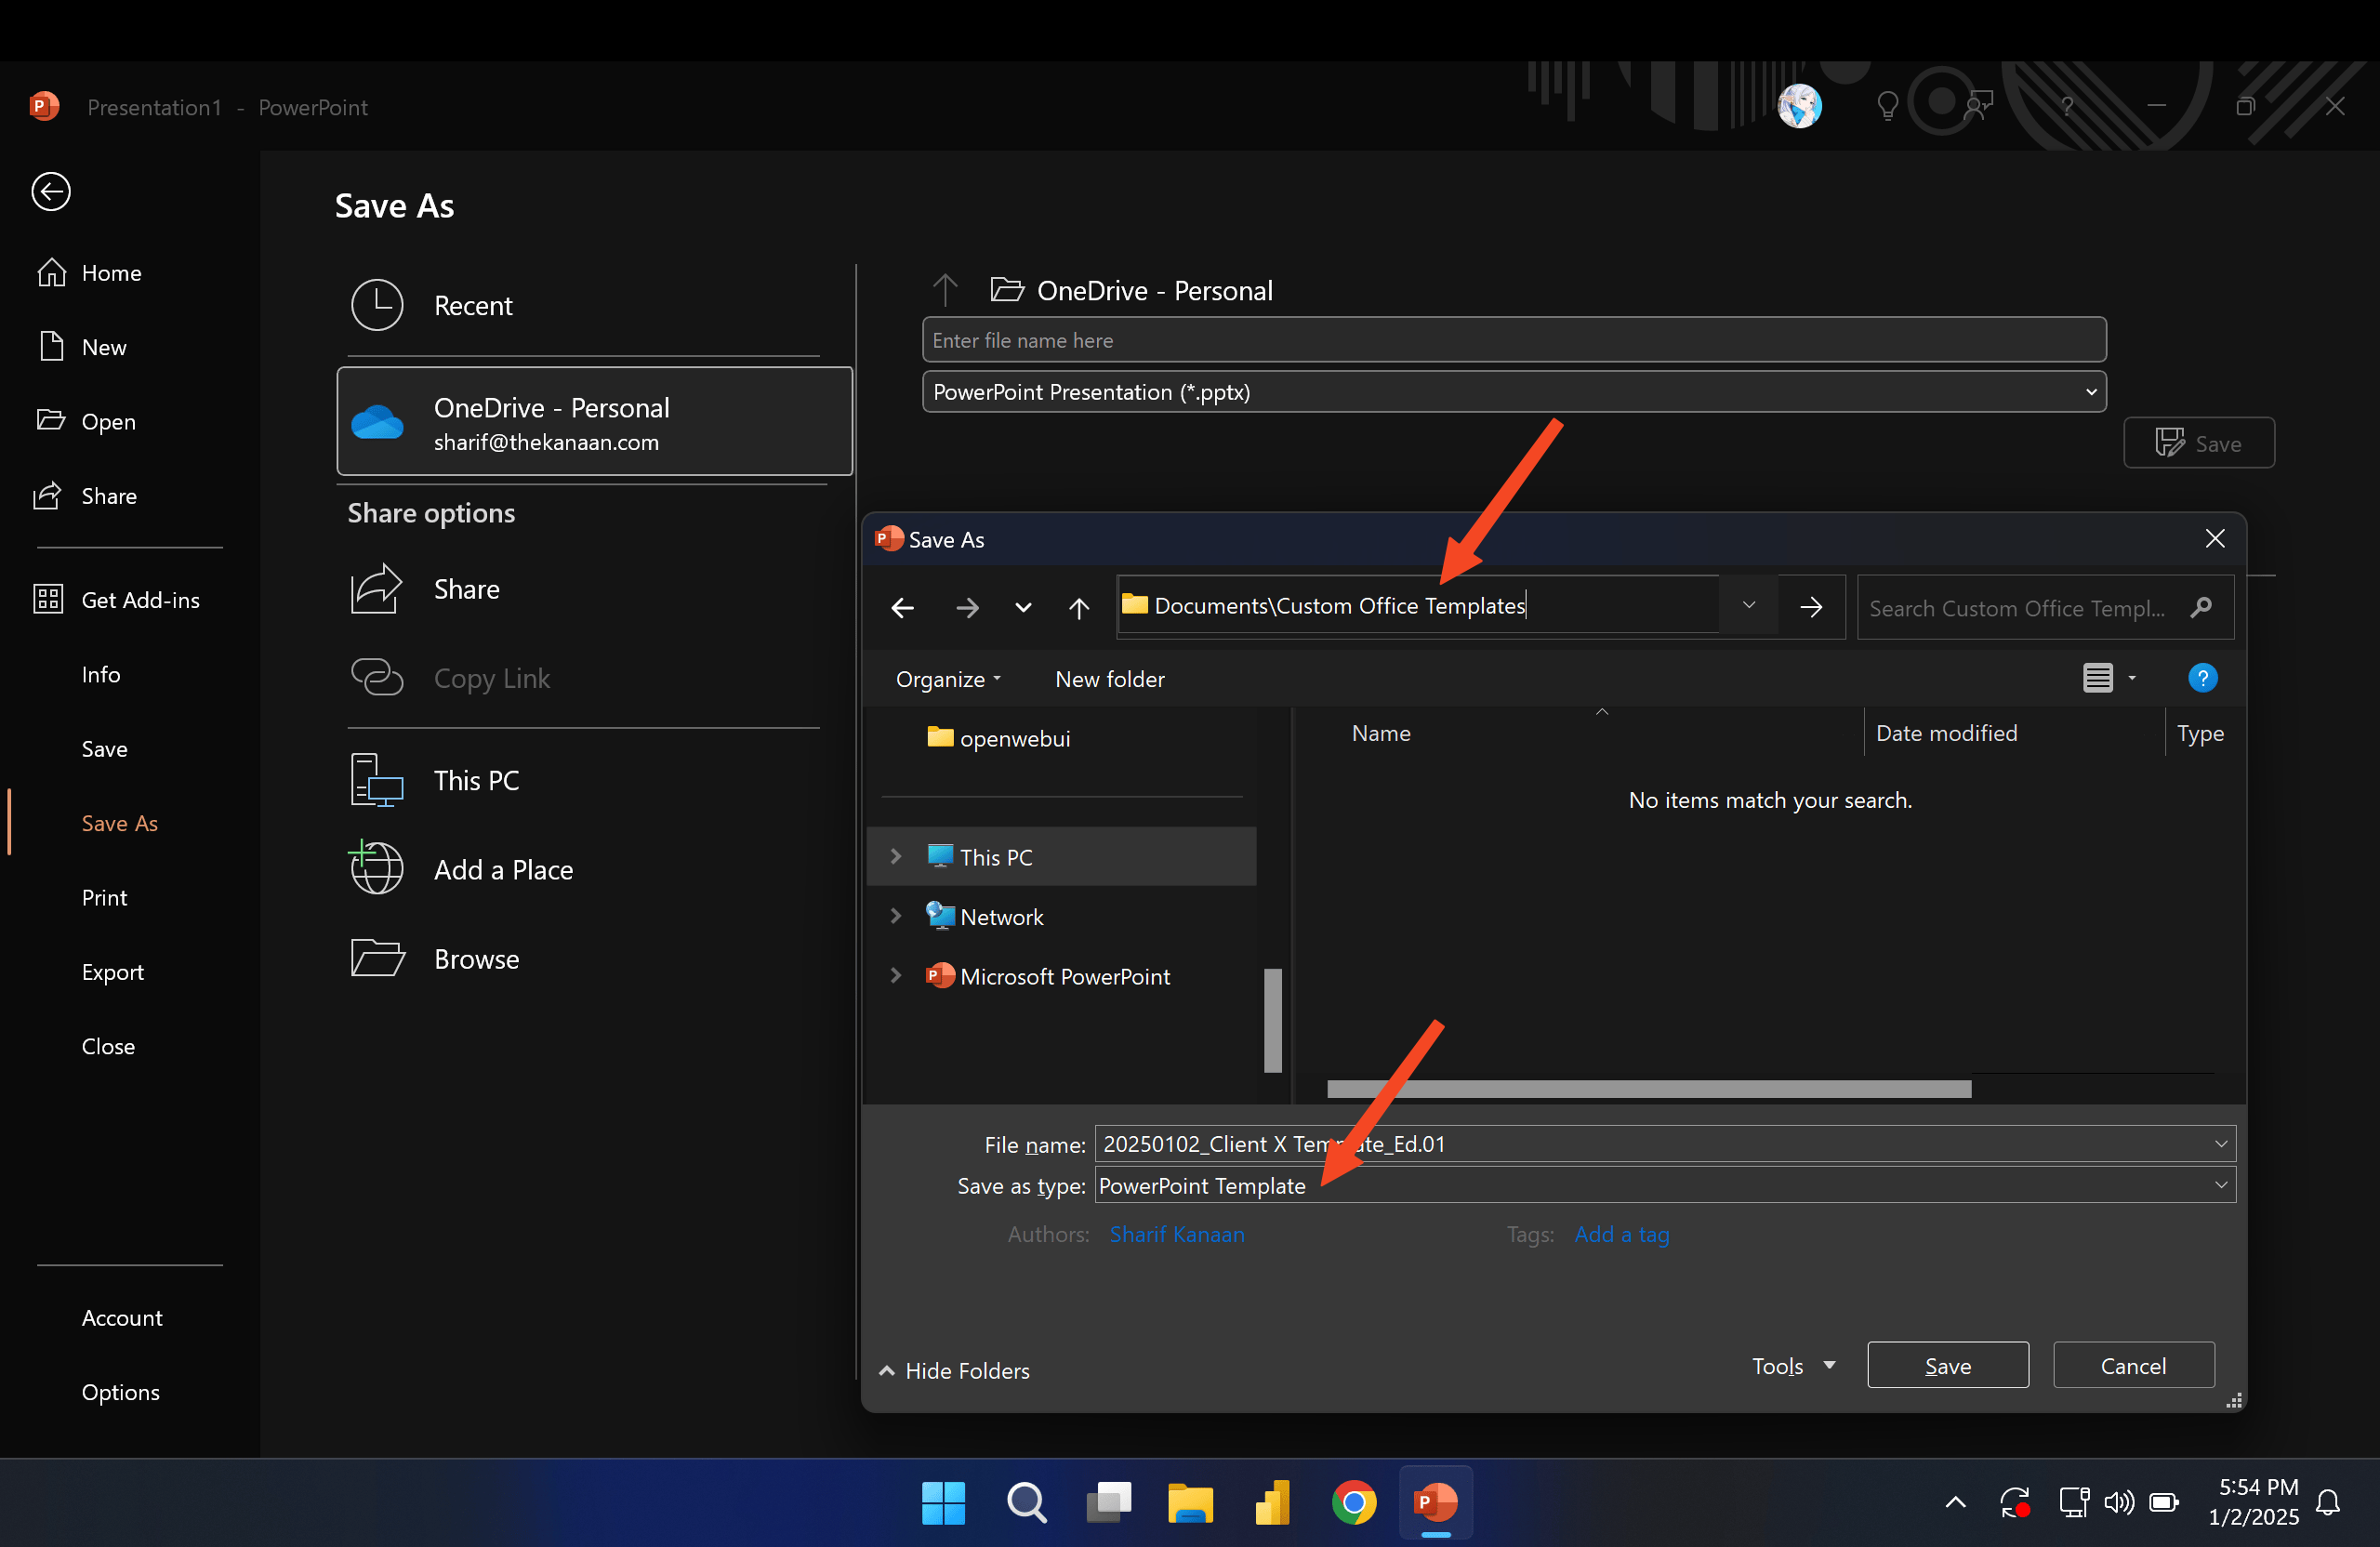
Once the template is configured, the file must be saved as a template file
- Excel File - .xlst file
- PowerPoint File - .potx file
- Word File - .dotx file
The file must be placed in the Custom Office Templates folder, located within the folder → Documents/Custom Office Templates
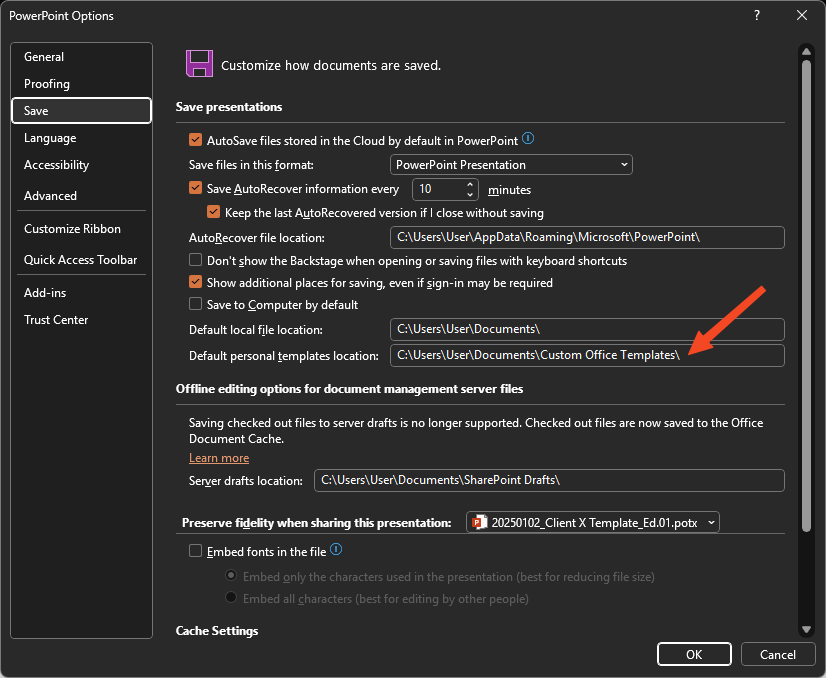
Configuring the Template
To configure the template, you need to set the default personal templates location within settings to the aforementioned Custom Office Templates folder.
You can do this by going to File -> Options -> Save and setting the settings as follows
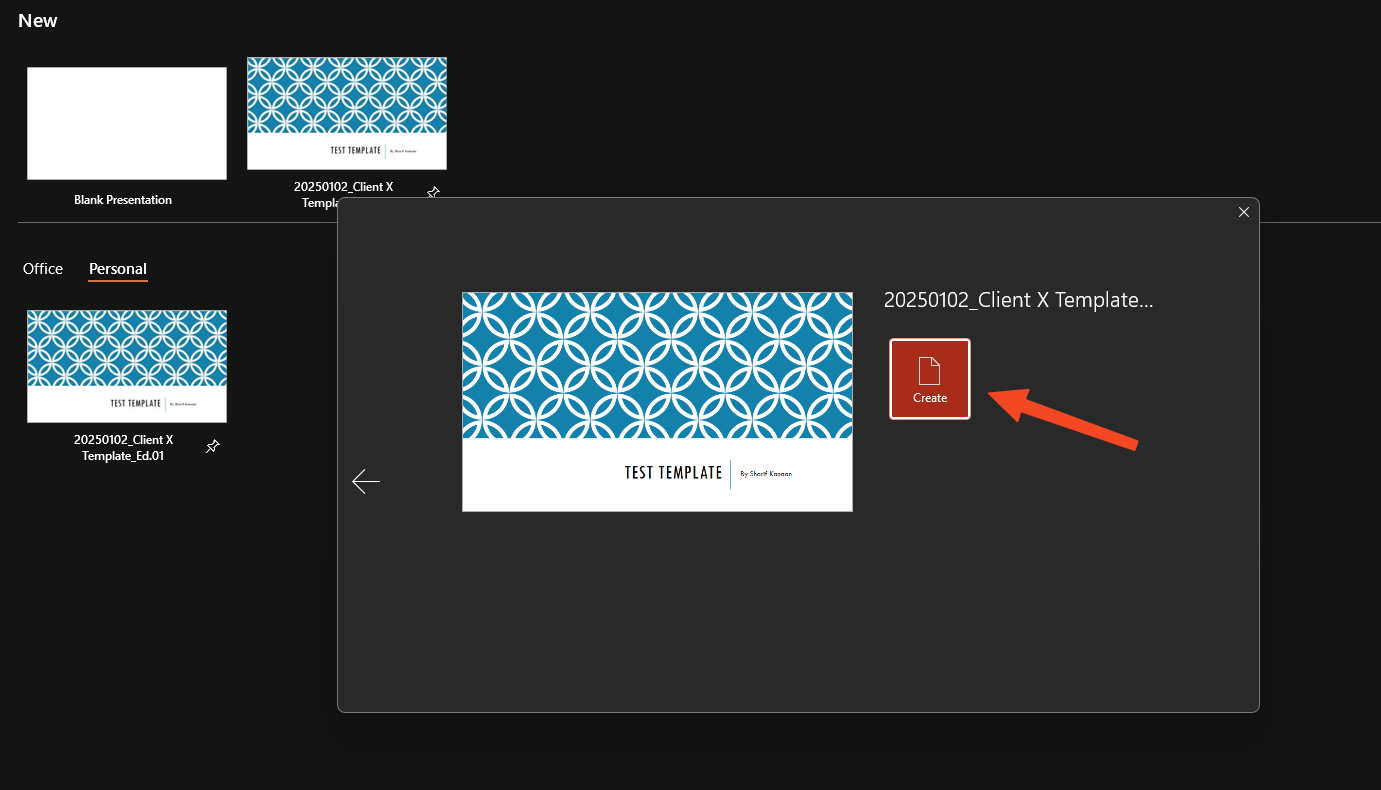
Drafting new Files from the Template
On any of the office applications, within settings, if you navigate to the window within New -> Custom -> Custom Office Templates, click the pin button next to the newly created templates to pin it to the main creation screen.
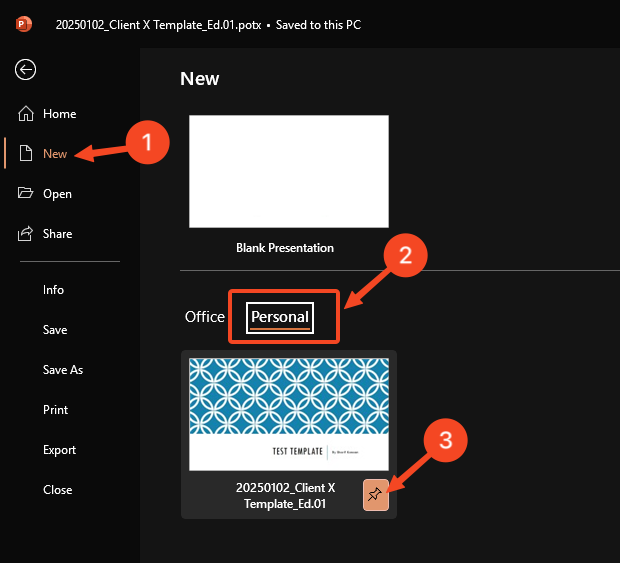
Now, every time a file needs to be created, click the newly created template within the window and select Create to generate the new file…